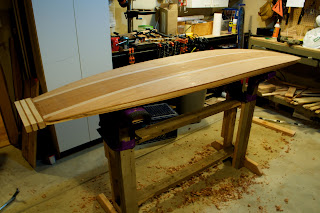
I followed instructions from the design I purchased: spend time with the flat file prepping the surfaces and then get creative with clamping. A few bungee cords helped.Next time I'll get used bicycle tires as I damn near lost an eye with the bungee cord hooks flying around.
Both the tail and the nose blocks had a lot of wood that would need to be removed. That seemed easier than trying to get the gluing surfaces exactly perpendicular to the curvature of the board. In other words, the plane of the board surface and the plane of the block were not aligned exactly. It was too hard to get the angle of the glued surfaces exactly perpendicular to the board surface; it made more sense to have extra wood that I'd plane and shape to flow with the plane of the decks.
 The bottom two pics show the big, disproportionate tail block glued to the tail.


No comments:
Post a Comment